This article goes through technique I uses in creating screenshots, with panoramic capturing method. Including uses of various animation mods, console commands, cropping & post processing. I do not claims to be a photographer nor any type of pro; this is simply how I do things.
Panoramic capture method is not limited to scenery only, in fact it can be abused for any situation. This also not just limited in Skyrim, practically you can do it in any games, depending on the limitation such as if the game have free camera mode, or at least capable to pan your camera around without unwanted things obstructing your view, and function to hide user interface.
This isn't a mod recommendation article to make your game beautiful....
//--
This isn't a mod recommendation article to make your game beautiful....
//--
Mod Setup
There is one mod we should NOT be using when doing a screenshot session - Skyrim Souls Unpause Game Menu. You want to be able to freeze the game at any moment by activating the console (~).
Typical mods used are as follow:
Typical mods used are as follow:
- OSA Skyrim Ascendancy, this will makes navigating poser mods easier
- Poser Module, integrate various poser mods into OSA menu interface
- poser mods supported by Poser Module, such as Halo's Poser, Pinup Poser, Fuwa's Poser, Pretty Motion Collection, etc.
- Facial Expression Project, allows to set expression for player & NPC
- Jaxonz Positioner, or Cobb Positioner, allows moving objects including items can't normally be moved with console command
- Add Item Menu, allows easier modded item search
- Extensible Follower Framework, allows easier NPC item swapping, can be done even if AI is frozen
- OneTweak, makes game support borderless-window. ENB also have such functionality but kinda wonky
- Vivid Snow Real Skyrim Snowflakes, real particle snow instead of just screen overlay
//--
Field of View
Often people capture shots with high FoV well over 60. I personally don't go this way, as this will produce unnatural object distortion along screen edge, especially if you're playing ultra-wide resolution, even 60 starts to produce that problem. When capturing scenery, lowering FoV to 40~50 will be ideal.The effect of lowering FoV, aside from avoiding unnatural distortion, also brings distance object closer to camera - making them looks bigger than usual. This is especially great for shots involving characters, making the sense of scale more "proper", reducing amount of unwanted background clutter. FoV of 20~35 is usually ideal for character shots.
Of course, this ISN'T a hard rule; but just a preference depending on the situation. In sample below, the only camera movement here is forward & backward to zoom into same character height on screen for both FoV.

//--
Console Commands
Understanding various console commands aside from just free-camera allows further control of the scene, or just adjust things normally you wouldn't be able to. Console commands are NOT case sensitive.Commonly used commands as follow:
- TFC, toggle free camera, but not freezing the game
- TFC 1, toggle free camera, and freeze the game
- TCL, toggle clipping allow you to walk on air or trough objects. This command only works when no object is selected in console
- TGM, god mode
- TG, toggle grass, for performance reason if needed
- TT, toggle tree
- TM, toggle menu (interface) on/off
- TAI, freeze all AI, or freeze only selected target
- TC, toggle control, allows player control on NPC
- SUCSM <#>, change speed of free camera, default is 10. Lower = slower.
- SETSCALE <#>, change object or NPC scale, default is 1.0
- SET GAMEHOUR TO <#>, change game time, game must not be frozen to take effect. Time is in 24-hour format
- FW <#>, force a specific weather type, look up the weather code in Wiki. Modded weather may not works with this command
- FOV <#>, change field of view
- MFG RESET, reset target facial expression
- DISABLE, disable an object or NPC to become hidden
- ENABLE, enable an object or NPC to become visible
- UNLOCK, unlock chest or door
- GETPOS X / GETPOS Y / GETPOS Z, get current object position, Z is vertical
- SETPOS X <#> / SETPOS Y <#> / SETPOS Z <#>, set object new position
- ADDITEM <#> <X>, add item to selected target, <X> is amount
- REMOVEITEM <#> <X>, remove item from selected target, <X> is amount
- EQUIPITEM <#>, equip item to selected target, item must be added with additem command first
- UNEQUIPITEM <#>, unequip an item from target
- SHOWINVENTORY, show a list of target's inventory items
- ADDSPELL <#>, add a spell to target
- EQUIPSPELL <#> <left | right>, equip spell to target and specify which hand
- CAST <#> <target> <left | right>, target cast a spell. Spell is cast instantly, no casting animation will trigger
- PLAYER.PLACEATME <#> <X>, spawn item or NPC at player position, <X> is amount
- KILL, kill a target
- KILLALL, kill everything in area
- RESSURECT 1, ressurect NPC with items intact
- RECYCLEACTOR, use this if ressurect didn't work, but will remove all items
- SETUNCONSCIOUS <#>, set target unconscious, either 0 or 1
- MOVETO PLAYER, move target to player position
- QQQ, instant quit game
Sometime, it is just a little hard to select the exact object or NPC on console due to other things, such as special effects obstructing your cursor. Simply scroll the mousewheel to change between different selections, the object or NPC bound to be in the next few selections. If all else fail, move the free camera really really close to the object you want to select. Using the SUCSM command will allows changing of the camera speed, making precise movement easier.
Special effects including burning fire & spells, can be selected on console, as well as resizing and moving them around. Eg: resize a magelight 10 times the size.
//--
Before We Begin...

Image Source: https://www.quora.com/How-does-panoramic-photography-work
Understand that your game resolution DOESN'T matter, as long as it isn't Nokia 3310 type of resolution... By utilizing panorama capturing method, we can create huge final result even with just regular 1080p gameplay resolution. What does matter is a good ENB, proper anti-aliasing, use Temporal-AA if need to, and Lumasharpen to regain visual sharpness. Lumasharpen can be set trough ENBEffect shader if the preset author provided that option. Otherwise it can be done through SweetFX (Skyrim:LE) or ReShade (Skyrim:SE). We also need a good ENB DoF shader. Marty McFly's DoF is possibly the most popular, as it is light weight and provide great subject focus, without causing "halo" problem despite intense background blurring. (halo = edge glowing around subject)
We will need image editing software with the following basic functions:
- free rotation to any angle
- crop to specific resolution & aspect ratio for consistency
- show rule-of-third gridline
- ability to add vignette effect

A screenshot tool that is fast and consistant is also required, as we will capture multiple shots rapidly. Capturing through GPU's driver functionality such as AMD's ReLive is fast, not miss a shot, and don't result in corrupted files. (I do not have experience with nVidia ShadowPlay). Reshade screenshot function is also a good one.
//--
Shooting & Post-Process
Let's start making a sample shot with scenery, since this is the easiest type of shot. However easy it is, producing good result is still HARD - skills & imaginations (which I am short of) are still required to create some truly spectacular shots. Knowledge of adjusting ENB weather system is added plus - allowing more controls over various aspects, including lighting, sky tint, cloud density, fog, etc.Since we might be capturing really large area, UGrid of at least 7 will be recommended.
Changing UGrid will not harm your game, using the "UgridsToLoad" mod will... Mind that differences.
Step 1: use an ENB suitable for scenery, such as DAHAKA, or whichever you see fit. Find a good scene. A very typical mistake that even I do all the time is, placing your character behind the camera. Why is this a mistake? Understand that cell loading is tied to your character position, not movement of free camera:

Step 2: set a slightly lower FoV and decide on best camera spot.
Remember that not everything need to fit into your screen resolution. Pan your camera around to roughly decide what portion of the scenery you want to be in the final result - from left to right, and top to bottom. If some undesired objects are getting in the way, deal with them - remove, resize, do whatever it takes to makes the scene better.
Step 3: rapidly capture multiple shots at different camera panning angle in sequence. Start whenever you like, I usually starts from either lower left or lower right, working my way up. Each shot need to overlap each other by a good amount, so the stitching software can easily guess how these pictures should be aligned. Capture as many as you need. It is good to capture additional extra areas outside of the wanted subject, so you have more rooms to crop later on.

Step 4: launch Microsoft ICE, select all the individual shots for stitching process. If your ENB uses [adaptation], you might notice there are brightness differences when you pan your camera around, just like the picture above shown. ICE is able to deal with this differences, as long as it isn't too extreme.
ICE workflow consist of 4 simple stages as shown on it's header - import, stitch, crop, and export.
- IMPORT - Simply add all individual shots. Just leave the camera motion as auto detect or select "rotating motion". Click next and wait for it to calculate. If every shot overlap good enough, there shouldn't be any problem for the software to recognize the scene.
- STITCH - This is a stage where you can decide on what type of "projection" you want. If you capture enough shots to form a 360° view, it is basically a full-sphere and can be panned / navigated seamlessly.
- Simply select differrent projections to find the one best suited for your scene. Click on the viewport to pan the view up-down, left-right, or make rotation for further adjustments if required. When satisfy, click next to proceed.
- CROP - Skip, just click next. It is best to do cropping with other picture editor with more controls available.
- EXPORT - Simply export as PNG format for best file size vs quality ratio. Alpha is not needed.
In this example above, a free image editing tool, Polarr is used - which can be acquired on Windows Store. https://www.polarr.co/windows/0
This editor includes most of the essential things we need : rotate & crop, vignette, rule-of-third grid, and a lot of adjustments if needed. However there is no tools available to do minor touch up, as sometime minor glitches can appear as a result of bad stitching - this is where tools like Photoshop can be helpful to fix. Such as the situation below, a patch of mountain is missing.
There are alternative to Photoshop, such as the free web based image editing tool https://www.photopea.com/ that practically function exactly the same as Photoshop...


Final result, full size link.
//--
Aspect Ratio & Common Tips
There is no rule about this; just preferences. In most cases I uses the following:- super ultrawide 32:9 : 7680x2160 or 3840x1080 or 2560x720
- ultrawide variable ratio : 3840x1440 or 2560 x 1080
- square 1:1
- portrait 9:16 : 1440x2560 or 1080x1920
The higher the stitched resolution, the better. Aside from giving more freedom in cropping, downsizing to final size also makes the result a lot more clear and crips. While 1080p is mostly fine to work with, 1440p will definitely gives you more flexibility if system able to handle it. Higher resolution display output that is more than your monitor native resolution, can be forced through GPU driver - AMD Virtual Super Resolution, or nVidia Dynamic Super Resolution.
Rule-of-third is simply a common / typical photograph trick to helps positioning subject in your shot. Sort of like simplified version of the Golden Ratio. Positioning significant subject at 1/3 or 2/3 position. Of course this isn't a mandatory rule and can't apply to all situations, it just "good to have" whenever in doubt.

Another typical tricks of scenery photography is keeping the vertical and horizon straight. Horizon is easy enough, make sure the land or skyline is flat; vertical can take reference from objects that are supposedly standing straight up, such as trees and buildings. Again this isn't a mandatory rule and can't apply to all situation. Rotated shot sometime does give much better motion and dynamic, especially for character oriented scene.
//--
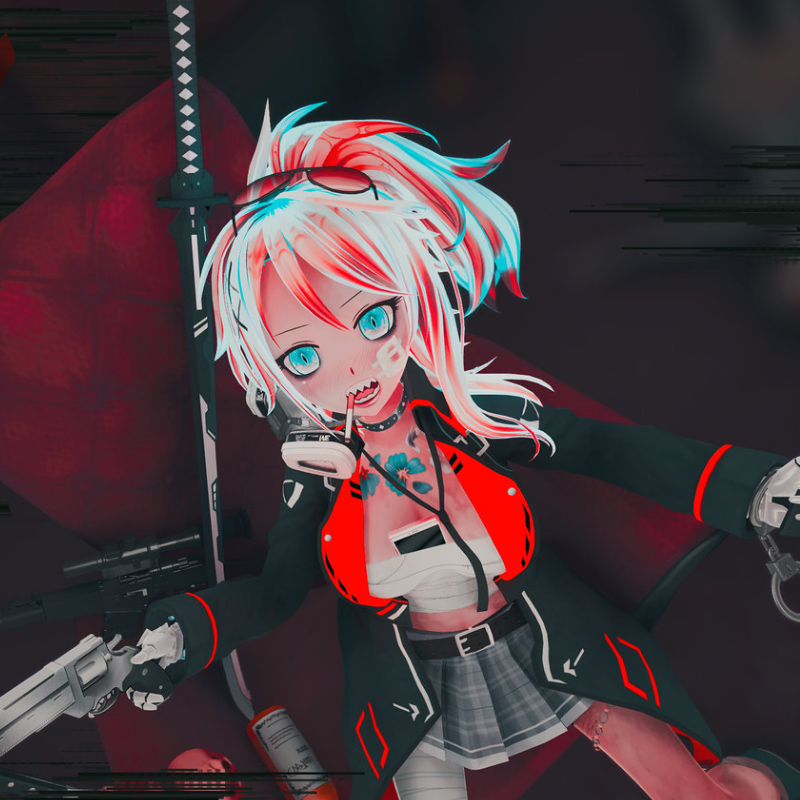
Character Shot
Character shot is slightly more tricky. A lot of things can go wrong, plan didn't works out as you'd imagined, forgot to install certain item mods and forced to restart, NPC didn't behave, item clipping, bad item texture for close-up, weird body part behavior, or game just don't like what you're doing and decide to crash.There are several things to take note about character poses:
- try not to use your own character if possible unless it is a very simple shot. You will see why in few points below.
- character cannot change facial expression and poses while the AI or game is frozen. So ensuring you got the right pose is important before starting the shot. This is especially critical when it comes to facial expression for combat scene - set the expression before you even find the best pose. Expression won't go away or reset even if character talks.
- understand that NPC head movement follows the player. Not all poses from poser mods have fixed head position, so you can tweak their head position by simply moving yourself around. If you want them to look up, make yourself bigger or use no-clip mode. If you want them to look down, just do the opposite.
- sometime environment lighting is simply not good enough to focus onto your character. This is where you can use your character as lighting assistant, carrying torch or lantern and move around until you find a good spot. While you can do this with NPC, it just takes a bit more work.
- it is far easier to swap character item trough the use of follower mod such as EFF, rather than typing console command. Approach the character in question, even if their AI is frozen, force recruit with EFF MCM then swap whatever item you need trough the inventory interface.
- understand that outfit or hair physic is frozen when a character AI is frozen. Physic effect will gives the shot more approprait motion and dynamic. However, swapping out these HDT items will reset the physic position to default, so make sure to have the right item equipped before deciding on physic effect.
- know that changing items will remove blood stains.
- understand that final composition doesn't need to be "straight", especially for action scene - rotating the picture might result in a more dramatic result.
- don't be afraid of lowering the camera all the way to the ground, or placing at any other position that isn't eye-level
//--
Manual Focus
You don't want to use Auto Focus when doing character shot while panning camera around, as the point of focus moves around when capturing with panorama method, even goes offscreen.
The example above uses Marty McFly's bokeh DoF. Other solution such as from Kingeric's is similar, just slight differences in option naming.
- Manual focus depth, smaller number means focus to object closer to camera, larger for further
- Near blur curve, is blurring between the focused subject and camera position. Usually this isn't working so well if distance from camera to focused subject is very short; so this is mostly best for scenery.
- Far blur curve, blur the background, smaller number is more intense.
- Hyperfocal depth distance, usually keep as 1.0. Adjusting this to around the same as Manual focus depth to FORCE subject & background focus, while enabling blurring of forground objects between camera and focused subject through Near Blur Curve, WHILE the distance from camera position to focused subject is very close.

Has laoreet percipitur ad. Vide interesset in mei, no his legimus verterem. Et nostrum imperdiet appellantur usu, mnesarchum referrentur id vim.